Painting with Water

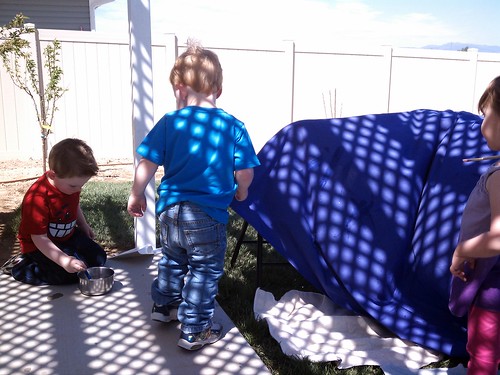
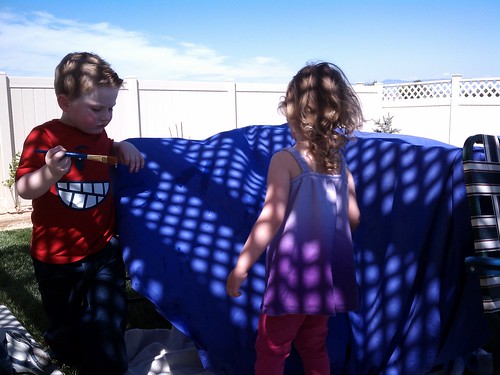
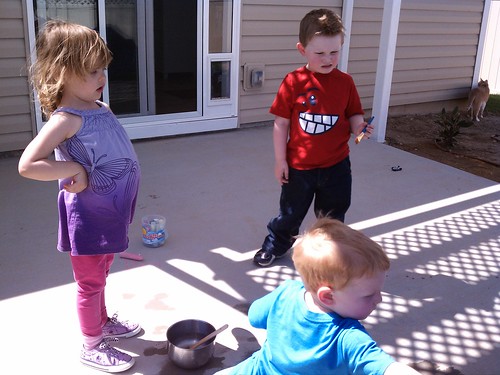
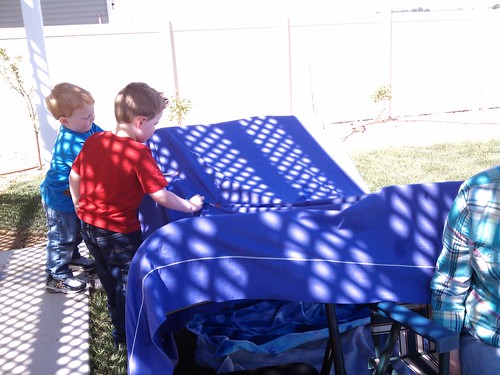
Like I said yesterday Lil’s cousins Brock and Bryce were over a few days ago.  After they finished their Popsicles they wanted to make a tent out of the sheet they had been using to sit on while eating their snacks.  While Rita (My Mother in Law) was making the tent I grabbed 3 paint brushes that I wouldn’t mind if the bristles got ruined, some sidewalk chalk and two bowls of water.  I put the bowls down on the patio and laid the brushes in the bowls. I explained to the kids that they were painting water and told them to have fun. They all loved the idea of painting and started making designs on the patio.  Once Rita was done with the tent they even started painting the tent sheet.  Brock (almost 4) was happily painting away, but kept saying to me “why are we using water? My Mom has paint for us to paint with”. I laughed and said that I have paint too, but today we were doing something different. He probably brought it up 4 or 5 times. I thought it was hilarious that he was totally having fun with the water, but wanted to know where the paint really was. I had a couple of opportunities to point out that if we had been using real paint we couldn’t do this or that and he still wanted to know where the paint was.

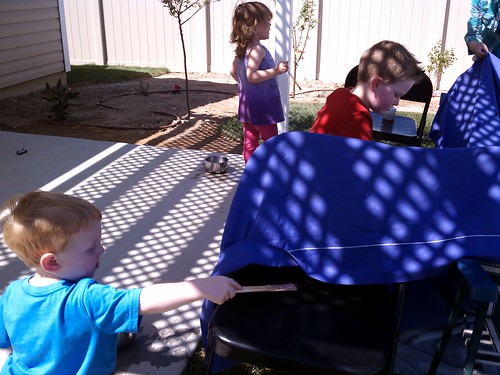
I highly recommend this activity.  It kept the three of them busy for 30 or more minutes and I only had to break up a few squabbles.

Painting with water

Painting with water

Painting with water

Painting with water

Painting with water

Painting with water

Painting with water

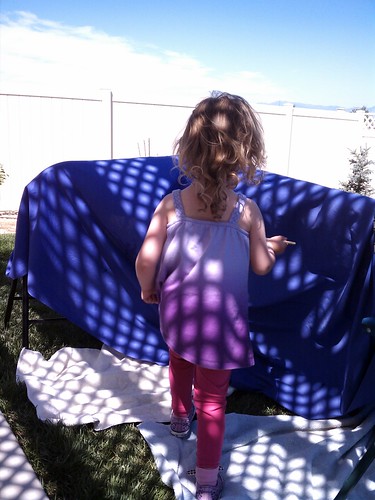
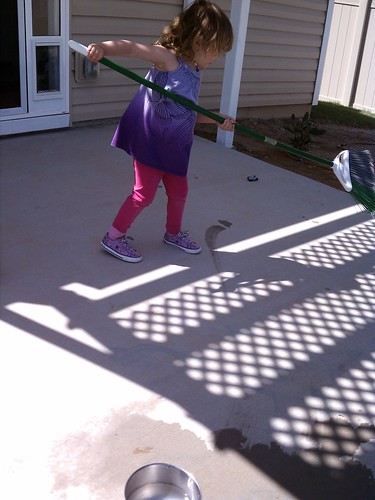
After a while Lily decided to try the broom as a painting tool.

Painting with water and a broom

Painting with water and a broom

Painting with water and a broom

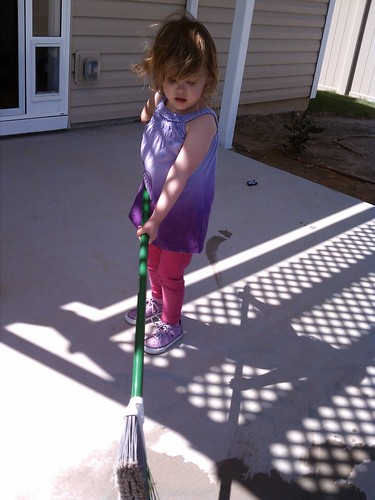
She seemed satisfied with the broom, but I think my bowls were just way too small.

Painting with water and a broom

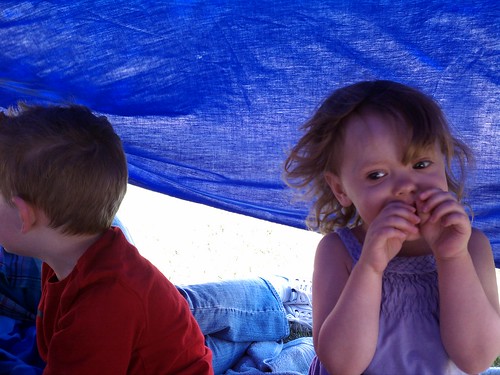
Of course in the end everyone ended up inside the tent. And no one ever touched the sidewalk chalk.

In a tent

I’d say this gets a 10 out of 10 crayons. It’s easy, cheap, has a very low mess factor, and everyone loved it.

Dropper Painting

I saw a form of painting with a dropper on a blog or Pinterest some time ago and filed it away as a fun thing to try at some point. (Sorry I can’t find a link for where I first saw it). I decided that Lil would probably like it, so I searched high and low for droppers, never once did I think to look on the ever holy Amazon, silly me. Anyway I finally found some at Hobby Lobby and everything fell into place.

These pictures are from our second attempt at dropper painting. The first time was pretty much a specular failure due to poor planning on my part.

I put some paint in the muffin tin wells and watered it down a bit.  I grabbed some small posterboard and Lily went to town.  Because the level of the paint was pretty low she had some issues with sucking the paint up into the dropper, but with a little help from me she got it.
Dropper painting

Dropper painting

Dropper painting

She loved making the bubbles and then playing with them.

Dropper painting

She liked dragging the end of the dropper though the paint almost as much if not more than dropping the paint in the first place.

Dropper painting

This last picture is from our first attempt and I think you can see why it turned out so poorly.  I had to do all of the sucking into the dropper because it was on the plate. I don’t know what I was thinking.

Dropper painting

All in all dropper painting isn’t Lily’s thing right now. I’m sure I’ll try again at some later time and maybe she’ll like it better.  For now I’m giving it a 3 out of 10 crayon rating.

Wall frame art

A while ago I saw this great idea on Pinterest (our course) and just filed it in the back of my mind as something I thought Lily would like to do, but didn’t have any plans to do it immediately. Then one day a week or so ago Lil wanted to draw and so I grabbed a length of easel paper off of the easel and taped it to the wall. I very crudely drew a few frames for Lil and handed her the marker/crayon/colored pencil box and away she went.

First fram wall

Waldo came in while she was drawing in the frames and sat with her while I worked a little.  After she was done he told me what it hit it was and to be sure to do it again. I was more than happy too.

Lily drawing in her frames

This time she drew little people in the frames rather then amoebas.  This kept her busy for almost an hour.

Person with a furry belly

It's a person with a furry belly, of course.

Howling Man

This one is a howling man. See his "O-ing" mouth?

This was a very easy craft to set up and Lily loved it. I’d give it a 6 out of 10 crayon rating.

Lily and the homemade puffy paint

In a land very near a Mommy wanted to do something to entertain her Small Girl and remembered seeing a Pin for homemade puffy paint. So the Mommy set forth and mixed up the concoction.  The Small Girl picked the colors from Mommy’s new package of pretty food colorings.  Mommy put them in some squeeze bottles and they set off to round up the necessary craft items.

Homemade puffy paint art

This was my attempt at using a ‘white board’ type background. Lil was too anxious to paint to let me take pictures of her paint.

Homemade puffy paint art

*Notice the Spring sticky wall behind Lil?  It’s been added to quite a bit since it was first put up.

Homemade puffy paint art

Homemade puffy paint art

Homemade puffy paint art

Homemade puffy paint art

Homemade puffy paint art

They dried really hard and still puffy. It was a fun craft and I’m sure we’ll do it again although next time I’m going to thin it down just a little, Lil had to squeeze pretty hard to get the paint out. It ended up being a collaborative effort and the resulting pictures were neat.

Puffy Paint- 1 c salt, c flour, 1 c water, food coloring

I put it all in a bowl except for the food coloring.  Once it was mixed well I separated a little out to a second bowl and put some in a storage container since I only had two bottles to work with. I then stirred the color in and moved it to the squeeze bottles.  Since I’m going to thin it down next time I might be able to just mix the food coloring straight in the squeeze bottles, but this time I was glad I had the bowl and spoon to work with.

I’m linking up with Nanette‘s Pinteractive post. Be sure to check her out.

Nannersp

When Kitchen Gadgets are lemons, Make Lemonaid

I have a few recipes in my repertoire that require me to stand at the stove whisking a sauce or whatever for up to an hour or more.  It is tiring and boring work, but luckily the results are worth it in the end.  To make my life easier for these food items Waldo kept telling me he was going to buy me one of those self-stirring as-seen-on-TV things.  We were walking around Fred Meyers one day and found the stirrer thing on the shelf for like $5.00.  We tossed it in the cart and decided to make something with it the next week that would use it.  I ended up making a tomato sauce and put the stirrer to the test.  It flunked! It flunked like a frat boy that hasn’t been to class all semester and drank his brains out.  It hardly moved around the pan and after about 7 minutes I took it out and finished stirring the sauce myself.

I knew this thing was never going to be used in the kitchen again so I decided to see what kind painting instrument it would make.

I started out by dropping globs of paint on a paper in a open cardboard box*.

Painting with a auto stir gadget

Lil put the stirrer in the box and we turned it on.

Painting with a auto stir gadget

It did the same thing in the box that it did in my sauce pan. It drifted to one corner and stayed there. I showed Lil how she could gently move it around.

Painting with a auto stir gadget

I was pretty impressed with how the first one turned out, even if Lily’s paint choice wasn’t my favorite.

Homemade puffy paint art

I didn’t like how all the paint got corralled in the middle because of the sweeper arm so I cut it off. I figured this thing was never going to by used for sauce so I didn’t need it.

Painting with a auto stir gadget

* I use this box for a lot of different art and painting projects. It’s just a little bigger than 8×11, so paper fits great. Sometimes I use a little tape on the underside of the paper to keep it down, but it’s usually not necessary. It contains messes nicely, however marbles will still fly out of given enough shaking.

Painting with a auto stir gadget

Painting with a auto stir gadget

Painting with a auto stir gadget

I cleaned the feet of the stirrer between every painting so the colors were clean.

Painting with a auto stir gadget

The little stirrer vibrated crazy fast and the way the colors mixed was a surprise to me. I really like how these last turned out. They are the newest addition to the art wall.

Homemade puffy paint art

My phone doesn’t do the colors justice.

Homemade puffy paint art

I was so excited about this project, I thought Lil would love it, but sometimes you just can’t tell with her which way she’s going to go with something.  So I so so relieved when she loved it. We give Robo-stir painting a 7 out of 10 crayon review. 🙂

Related Posts Plugin for WordPress, Blogger...